


How to Take Good Food Photos: 8 Simple Tips That Work
You know a great dish deserves a great photo, but every shot off your phone looks flat, yellow, or just plain unappetizing next to the food blogger accounts you scroll past every day. Learning how to take good food photos isn't about buying an expensive camera. It's about a handful of small adjustments that make your plates look as good on screen as they taste on the table.
This guide skips the theory and gets straight to what actually works. You'll find eight practical techniques covering light, angles, backgrounds, and styling that you can start using with the phone already in your pocket. No studio, no editing software subscription, no photography degree required.
For restaurant owners, this matters beyond social media likes. Every photo you post to Instagram or your online ordering page is doing sales work, and sharp, appetizing images convert browsers into orders. If you're running your own branded ordering site through The Foody Gram, these tips will help your menu photos pull their weight and keep customers looking at your food instead of scrolling to a competitor's app.
1. Shoot in natural light
Every food photographer will tell you the same thing first: natural light is what separates a flat, greasy-looking plate from one that makes someone hungry. Overhead kitchen bulbs and ceiling fixtures cast a warm yellow tint that makes fresh basil look dull and white sauces look dingy. A window does the opposite. It gives you soft, even light that shows the actual color and texture of the food, which is the whole point of the shot.
How to do it
Set up near a window, ideally one that gets bright but indirect light, like a north-facing window or a spot with the sun behind a building or some clouds. Direct, harsh sunlight creates hot spots and hard shadows that fight with your dish for attention. Here's a simple setup to follow:
- Place the dish about 2 to 4 feet from the window
- Turn off overhead lights and any lamps in the frame
- Position the light source to the side or slightly behind the dish, not directly behind the camera
- Use a white poster board, foam board, or even a napkin on the opposite side to bounce light back into shadows
Why it works
Soft, diffused light wraps around the food instead of blasting it from one direction, which is why restaurant photographers shoot near windows instead of under kitchen fluorescents. It reveals texture, like the crisp edge of a fried chicken skin or the steam rising off a bowl of soup, without washing it out. Side lighting in particular creates gentle shadows that give the dish depth and make it look three-dimensional instead of flat on the plate.
Good light does more for a food photo than any camera or editing app ever will.
This is also the fastest fix available to any restaurant owner shooting menu photos for their online ordering page. You don't need new equipment, just a window and ten minutes when the light is good, usually mid-morning to early afternoon.
Common mistake to avoid
The biggest error is shooting directly under an overhead light or using your phone's built-in flash. Flash flattens the dish, creates a harsh white glare on sauces and glossy surfaces, and throws odd shadows behind the plate. If a room feels too dark, move closer to a window rather than reaching for artificial light. When natural light truly isn't available, a cheap LED panel with a diffuser is a far better fallback than your phone's flash.
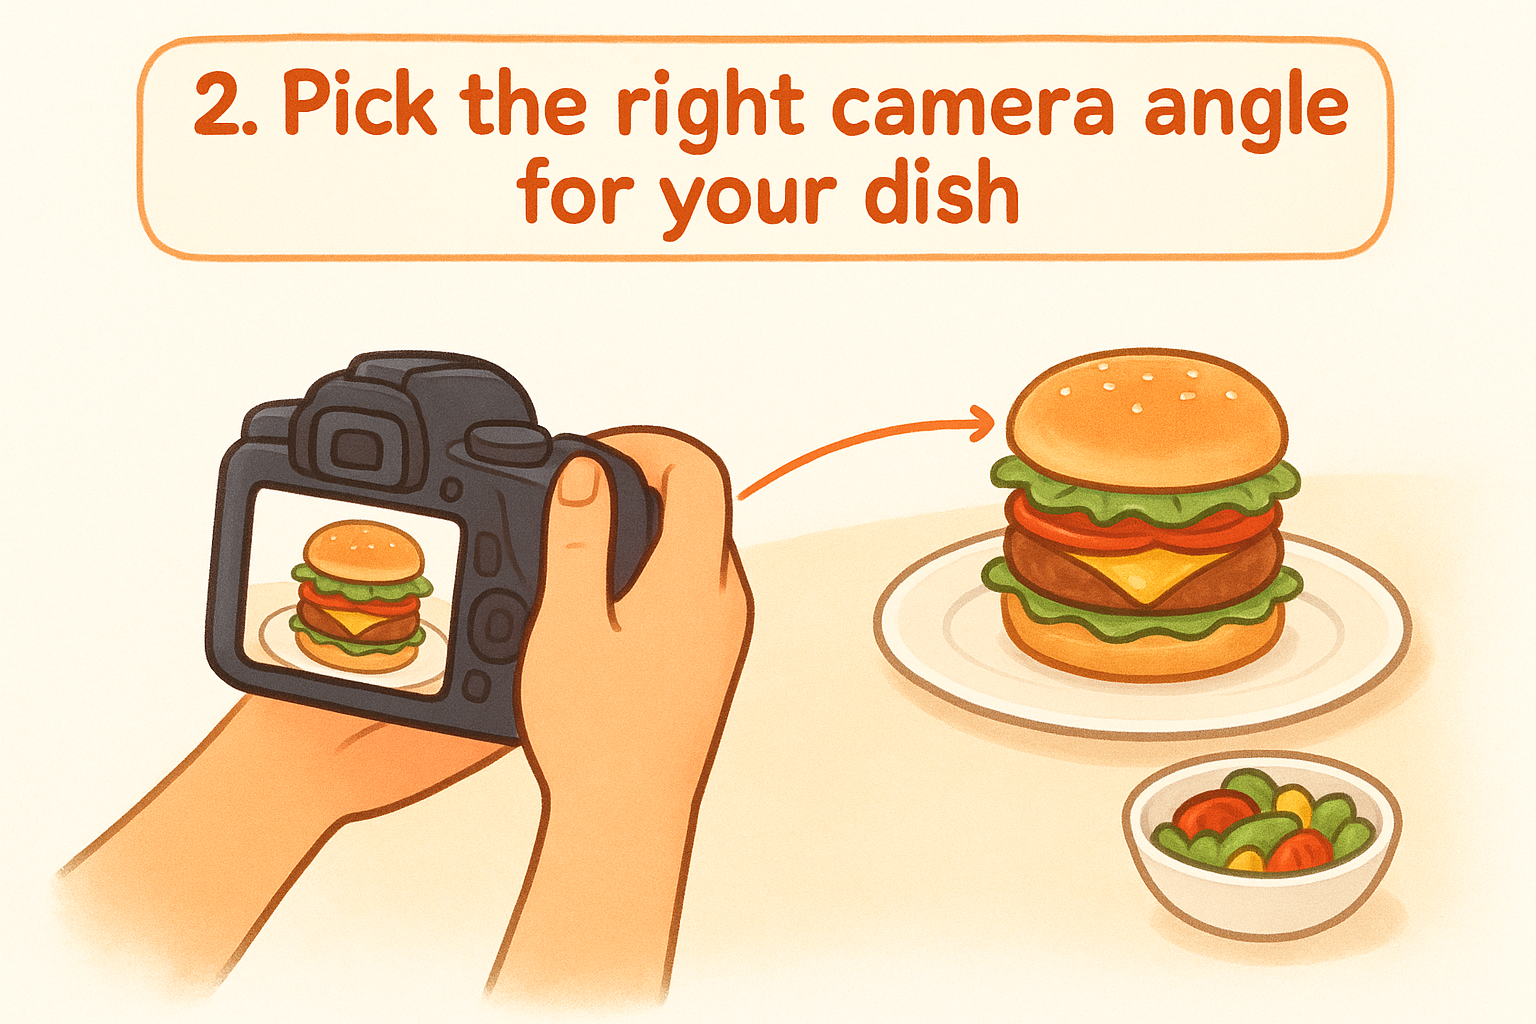
2. Pick the right camera angle for your dish
The angle you shoot from can make or break a photo before you even think about light or props. Every dish has a best angle, and it usually depends on how tall the food is and where the interesting details sit. Get this wrong and even perfect lighting won't save the shot.
How to do it
Match the angle to the dish in front of you. Use this as a quick reference:
| Dish type | Best angle | Why |
|---|---|---|
| Burgers, layered sandwiches, tall cakes | Straight-on (0 degrees) | Shows height and layers |
| Pasta, soups, salads, bowls | Overhead (90 degrees, flat lay) | Shows arrangement and color |
| Plated entrees, tacos, pizza slices | 45 degrees | Shows the plate and some depth |
Start with the 45-degree angle if you're unsure. It's the most forgiving and works for the majority of restaurant dishes.
Why it works
A flat lay works for a poke bowl because the toppings are arranged for viewing from above, but that same angle makes a stacked burger look like a flat brown circle. Shooting straight-on shows off height and layering, which is exactly what sells a burger or a slice of layered cake. Matching the camera angle to the dish is what makes food photography look intentional instead of accidental.
The right angle shows off what makes the dish worth ordering in the first place.
Common mistake to avoid
Don't default to one angle for every dish on your menu. Shooting a tall stack of pancakes from overhead hides the syrup dripping down the sides, which is the whole appeal. Walk around the plate before you shoot and check a few angles on your phone screen first.
3. Style the plate before you shoot
A great angle and perfect light can't fix a sloppy plate. Plating for the camera is different from plating for the kitchen pass, and a few small adjustments before you shoot make the food look like something worth ordering twice.
How to do it
Clean the rim of the plate first. Sauce drips and smudges show up clearly in photos even when they're barely visible to the eye. Then work through this quick checklist before every shot:
- Wipe the plate edge with a damp paper towel
- Add a fresh garnish (herbs, a lime wedge, a drizzle) right before shooting, not during prep
- Leave visible negative space so the dish doesn't look crowded
- Turn the best-looking side of the dish toward the camera
Why it works
A clean, well-composed plate reads as fresh and intentional, which is exactly the impression you want on a menu photo or an Instagram post. Garnish added at the last second still looks vibrant instead of wilted, and it draws the eye to a focal point instead of leaving the frame feeling flat. This one habit separates photos that look professional from ones that look rushed, even when the camera and lighting are identical.
A wiped plate and a fresh garnish do more for a photo than any filter can.
Common mistake to avoid
Don't plate the dish, walk away, and shoot it ten minutes later. Sauces settle, garnishes wilt, and steam disappears. Style and shoot in one motion, right as the dish leaves the kitchen.
4. Build the scene with simple props
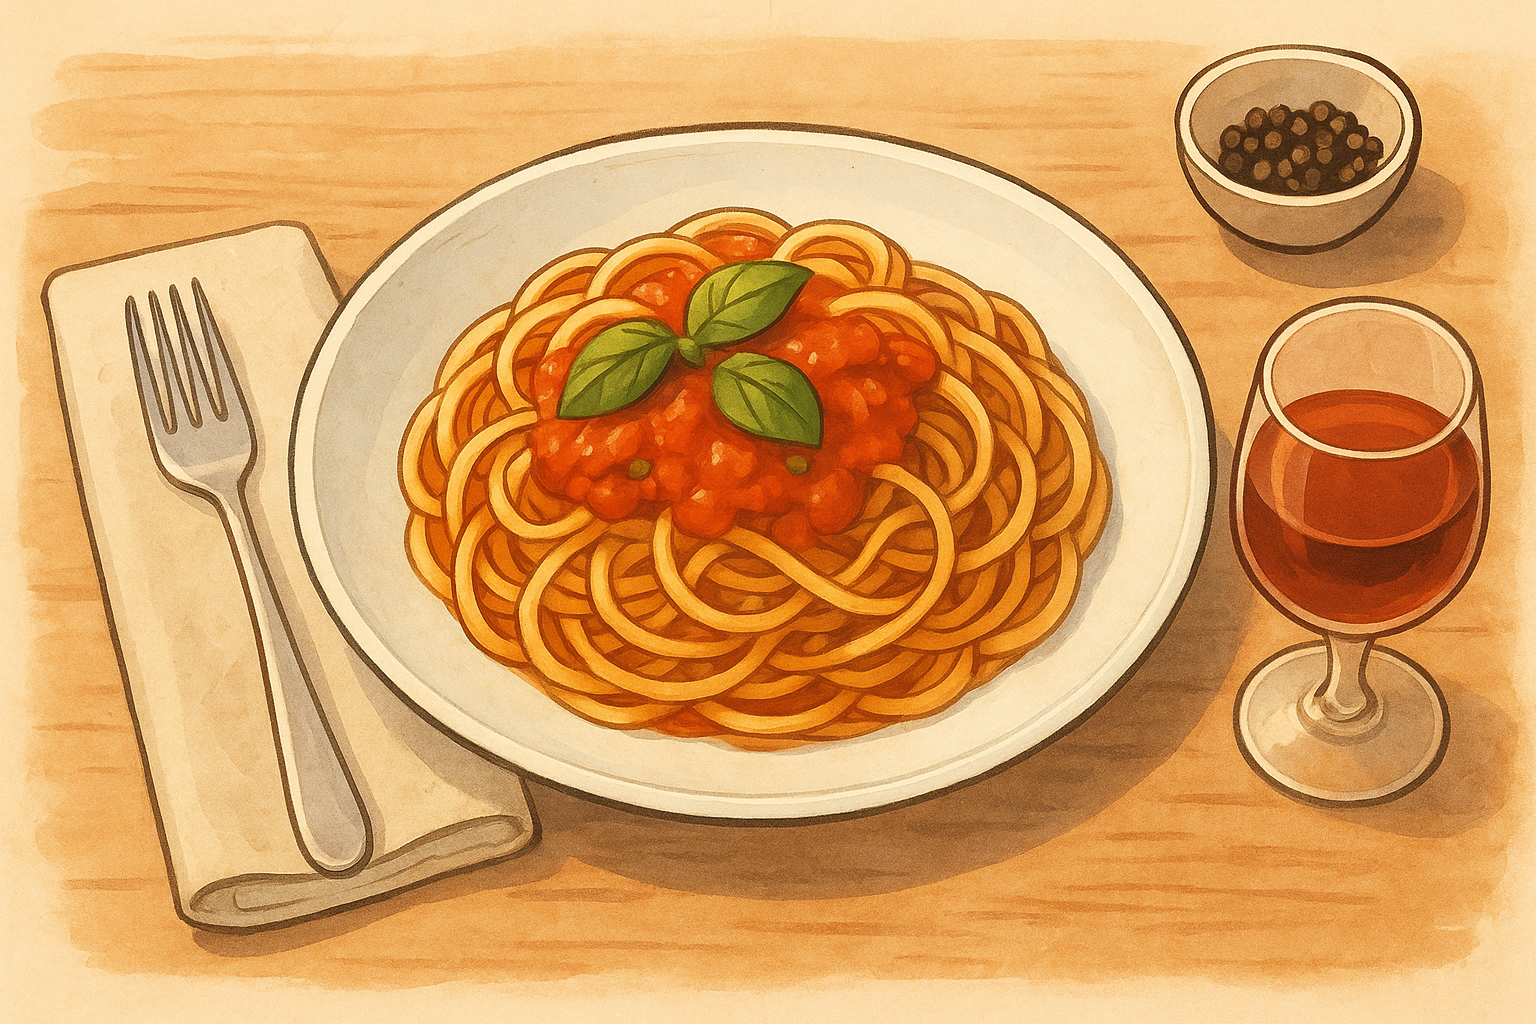
A plate photographed on a bare table can look sterile, even with perfect light and angle. Simple props fill the frame with context and personality without pulling attention away from the food itself. You don't need a prop closet, just a few items that hint at the story behind the dish.
How to do it
Start with a background surface. A wooden board, a slab of dark slate, or even a clean linen napkin spread on the table instantly beats a bare countertop. From there, add one or two supporting items:
- A folded cloth napkin tucked under or beside the plate
- A fork or chopsticks resting at an angle, not centered
- A drink that matches the meal, like a glass of wine or iced tea
- A small bowl of a raw ingredient from the dish, like whole peppercorns or fresh basil
Keep everything within arm's reach so you can adjust quickly between shots.
Why it works
Props create a sense of place and give the eye somewhere to land besides the food, which makes the whole scene feel styled instead of staged in a rush. A background surface with texture, like wood grain or linen, also plays well with natural light, catching soft shadows that add depth to the shot.
Good props support the dish, they never compete with it.
Common mistake to avoid
Don't crowd the frame. Restaurant owners often pile on napkins, utensils, and side dishes until the main plate gets lost. Pick one or two props, then step back and check that the food is still the first thing your eye finds.
5. Use composition tricks like lines and framing
A busy shot with no structure leaves the eye wandering, and wandering eyes scroll past your photo. Composition rules give the viewer a path to follow, starting at the edge of the frame and landing right on the food. You don't need an art degree, just a couple of guidelines borrowed straight from photography basics.
How to do it
Turn on your phone's grid lines in the camera settings, then use these two tricks together:
- Rule of thirds: Place the plate off-center, at one of the four points where the grid lines cross, instead of dead center in the frame
- Leading lines: Use the edge of a table, a napkin fold, or a row of utensils to draw the eye toward the dish
- Framing: Shoot through a doorway, over a shoulder, or between two other plates to add depth
Check the frame before every shot and ask whether your eye lands on the food first.
Why it works
Off-center composition feels more natural and dynamic than a plate stuck in the middle of the shot, which is why professional photographers rarely center their subject. Leading lines work because human eyes automatically follow a straight edge, and if that edge points at your dish, you've done half the composition work already.
A photo with structure holds attention longer than one that's just centered and flat.
Common mistake to avoid
Don't center the plate out of habit. It's the default instinct, but it's also the least interesting choice available, and it makes every photo on your feed look the same.
6. Control exposure and focus manually
Your phone's camera app almost always guesses wrong when a plate has bright highlights and dark shadows in the same frame. Manual exposure control fixes this in seconds and stops your food photos from turning out either washed out or muddy. Most phones already have this built in, you just need to know where to tap.
How to do it
Open your camera app and tap directly on the food to set focus, then look for a sun icon or slider that appears next to the focus box. Drag it up or down until the highlights and shadows both look natural on screen. Follow this order every time:
- Tap the plate to lock focus on the food, not the background
- Drag the exposure slider down slightly if the highlights look blown out
- Recheck focus after adjusting exposure, since some phones reset it
- Take three or four shots at slightly different exposure levels and pick the best one later
Why it works
Food has a lot of contrast, glossy sauce next to a matte bun, steam against a dark bowl, and your camera's auto mode averages all of that into a flat, gray-ish guess. Manual control lets you protect detail in both the brightest and darkest parts of the dish. Sharp focus on the food, rather than the napkin or the background, keeps the viewer's eye exactly where you want it.
Tapping the plate before you shoot fixes more photos than any app ever will.
Common mistake to avoid
Don't let the camera auto-focus on whatever is closest to the lens, like a fork or a napkin edge, while your food sits soft and blurry behind it. Always tap the dish directly, and double check the preview before moving on.
7. Add a human touch to the shot
A plate sitting alone on a table can feel static, no matter how good the light or styling is. Adding a human element, a hand reaching for a slice, fingers gripping a burger, someone pouring sauce, instantly makes the photo feel alive and gives the viewer something to relate to. This works especially well for social media, where a still life of food scrolls past fast but a hand in motion makes people pause.
How to do it
Grab a second person or use a tripod and a self-timer if you're shooting solo. Keep the action simple and natural:
- Have a hand lift a slice of pizza so the cheese stretches
- Pour sauce, syrup, or dressing over the dish mid-shot
- Hold a taco or sandwich just above the plate, ready to bite
- Clink two glasses together at the edge of the frame
Shoot several frames in a row since motion shots rarely land perfectly on the first try.
Why it works
Movement and human interaction signal freshness and give the dish a sense of scale that a static overhead shot can't. A hand in frame also builds a narrative, it suggests someone is about to enjoy the meal, which taps into appetite far more than a perfectly arranged but empty scene.
A hand reaching for the food tells a story a plate alone never can.
Common mistake to avoid
Don't let the hand or gesture block the dish itself. Keep the action at the edge of the frame so the food stays the clear focal point.
8. Edit your photos before you post
Even a well-lit, well-composed shot usually needs a light touch of editing before it's ready for Instagram or your menu page. This last step in learning how to take good food photos is about small corrections, not filters that make your food look fake. A few adjustments in a free app finish what good lighting and styling already started.
How to do it
Open a basic editing app like Snapseed or Lightroom Mobile and work through these adjustments in order:
- Bump exposure and contrast slightly if the shot looks flat or gray
- Warm up the white balance if the photo reads too blue or cool
- Increase saturation a touch, but stop before colors look neon
- Sharpen just the food, not the whole frame
- Crop out distracting edges or clutter you missed while shooting
Keep every adjustment subtle enough that the photo still looks like real food.
Why it works
Small corrections fix the gap between what your eye saw and what the camera actually captured. Subtle editing brings out color and detail that got lost in translation, without tipping into the oversaturated, plastic look that makes food photos feel untrustworthy.
Editing should make food look like itself, only clearer.
Common mistake to avoid
Don't push saturation and contrast until the food looks artificial. Heavy filters are the fastest way to make a customer scroll past instead of ordering, especially on a page where they're deciding whether to trust your restaurant with their money.
Putting these tips into practice
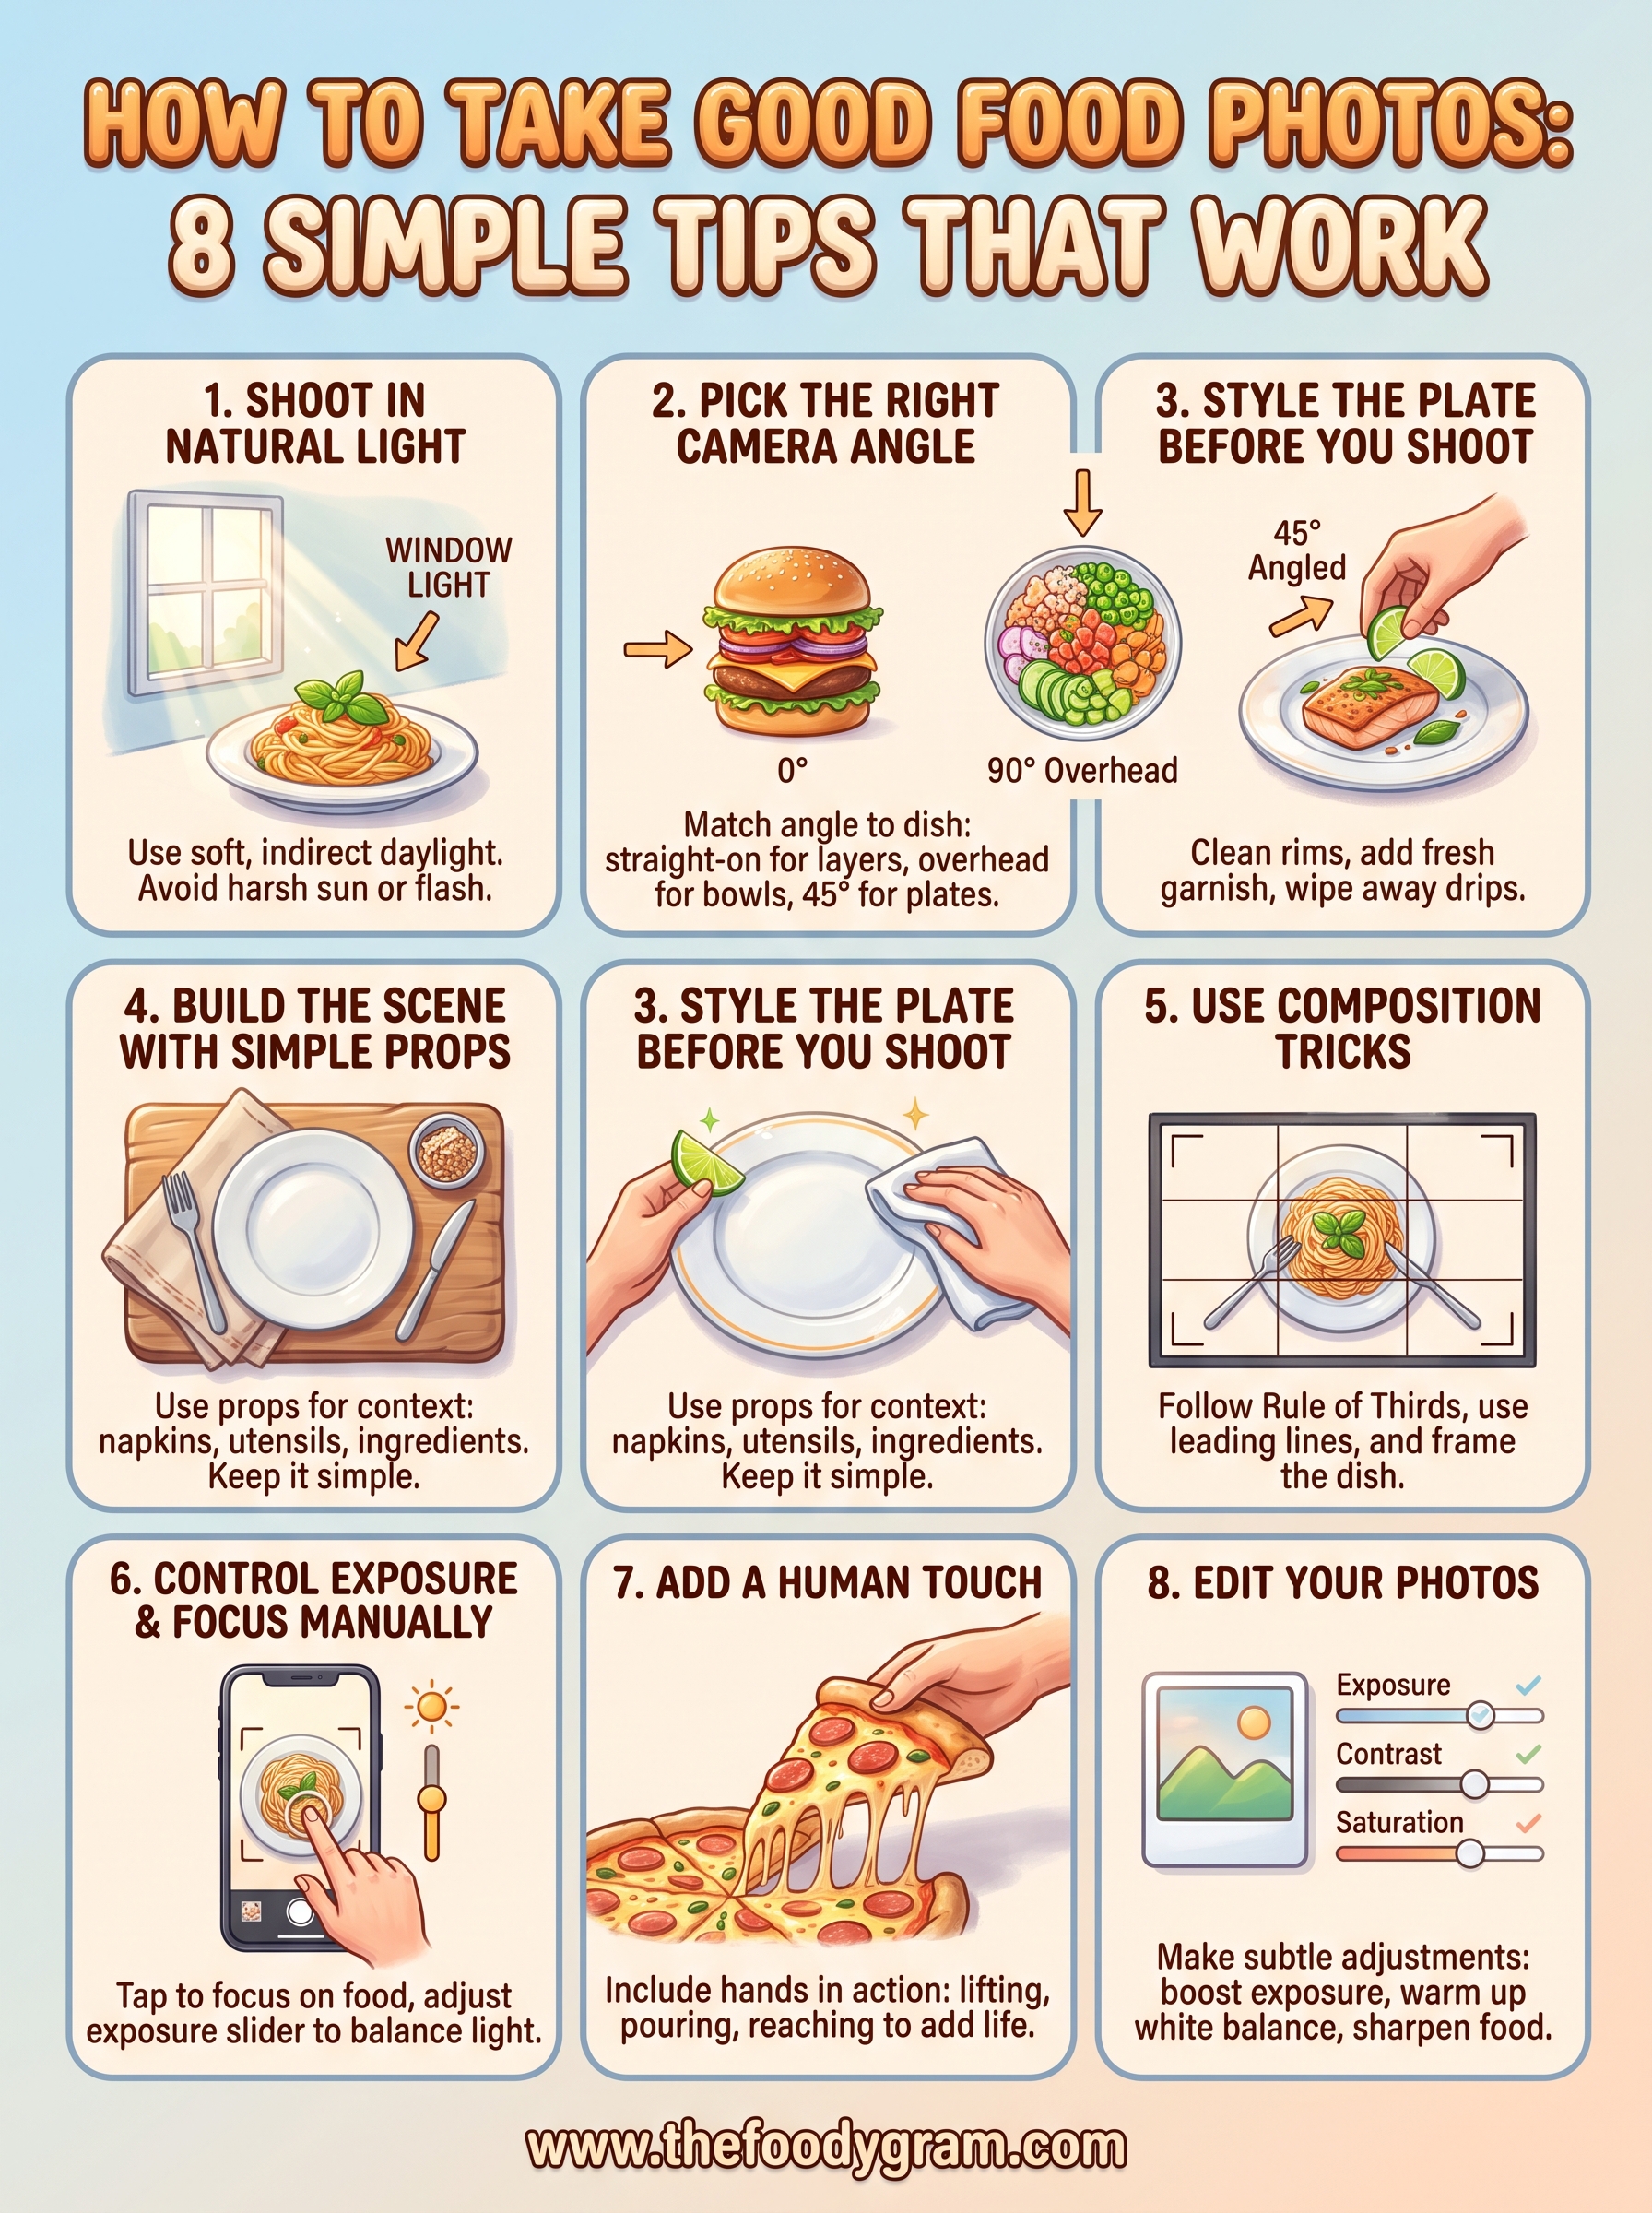
You don't need all eight tips perfect on your first try. Start with natural light and the right camera angle, since those two alone fix most of what makes a photo look flat. Add styling, props, and composition as you get comfortable, then finish with a light edit before anything goes live. That's the whole process, no studio, no expensive gear, just a window and a bit of practice with the phone you already own.
For restaurant owners, better photos are worth the ten extra minutes per dish. A sharp, appetizing shot on your online ordering page does real work, turning a scroll into a click and a click into an order. If you're ready to put those photos on a branded site that doesn't hand 30% of every sale to a delivery app, check out The Foody Gram's pricing and see what a commission-free setup actually costs.