


How To Write Menu Descriptions That Sell More Orders
Most restaurant owners spend hours perfecting their recipes but only minutes writing the words that actually sell those dishes. Your menu description is the first (and sometimes only) pitch a customer gets before deciding what to order, or whether to order at all. Knowing how to write menu descriptions that connect with hungry customers can directly impact your average order size and overall revenue.
A well-written description does more than list ingredients. It creates anticipation, triggers cravings, and gives customers the confidence to try something new, especially on a digital menu where they can't see or smell the food in front of them. That's exactly why we built The Foody Gram around giving restaurants full control over their online ordering experience: your menu, your brand, your words doing the selling instead of getting buried on a third-party app.
This guide breaks down the specific techniques, formulas, and real examples you can use to write menu descriptions that turn browsers into buyers, whether on your printed menu or your online ordering page. Every tip here is practical and ready to apply the moment you finish reading.
What makes a menu description sell
A menu description sells when it triggers a specific feeling before the customer places their order. The difference between a description that works and one that gets ignored usually comes down to three things: specificity, sensory language, and clarity. Most menus fail because they describe what a dish is rather than what it feels like to eat it. That single shift changes how customers respond.
A description that tells customers how a dish will taste gives them a reason to order it. A description that only lists ingredients gives them a reason to scroll past it.
The psychology behind the buying decision
When someone reads your menu, they're making a quick emotional decision dressed up as a logical one. They're not evaluating nutritional data; they're imagining the experience of eating that dish. Research on consumer behavior shows that words activate the same sensory regions of the brain as actual experiences, which means the right description can make someone genuinely hungry. Your job is to use that to your advantage by writing words that put a specific image or sensation in the reader's mind.
Knowing how to write menu descriptions that trigger this response means understanding what drives the decision. Price matters, but so does perceived value. A dish described as "slow-roasted" feels more valuable than one described as "cooked." A burger with "sharp cheddar and house-made pickles" sounds more intentional than one with "cheese and pickles." The details signal care, and care signals quality.
The difference between listing and selling
Most restaurant menus read like a grocery receipt: they tell you what's in the dish, and that's it. A selling description tells you what you're getting out of eating it. Consider these two versions of the same dish:
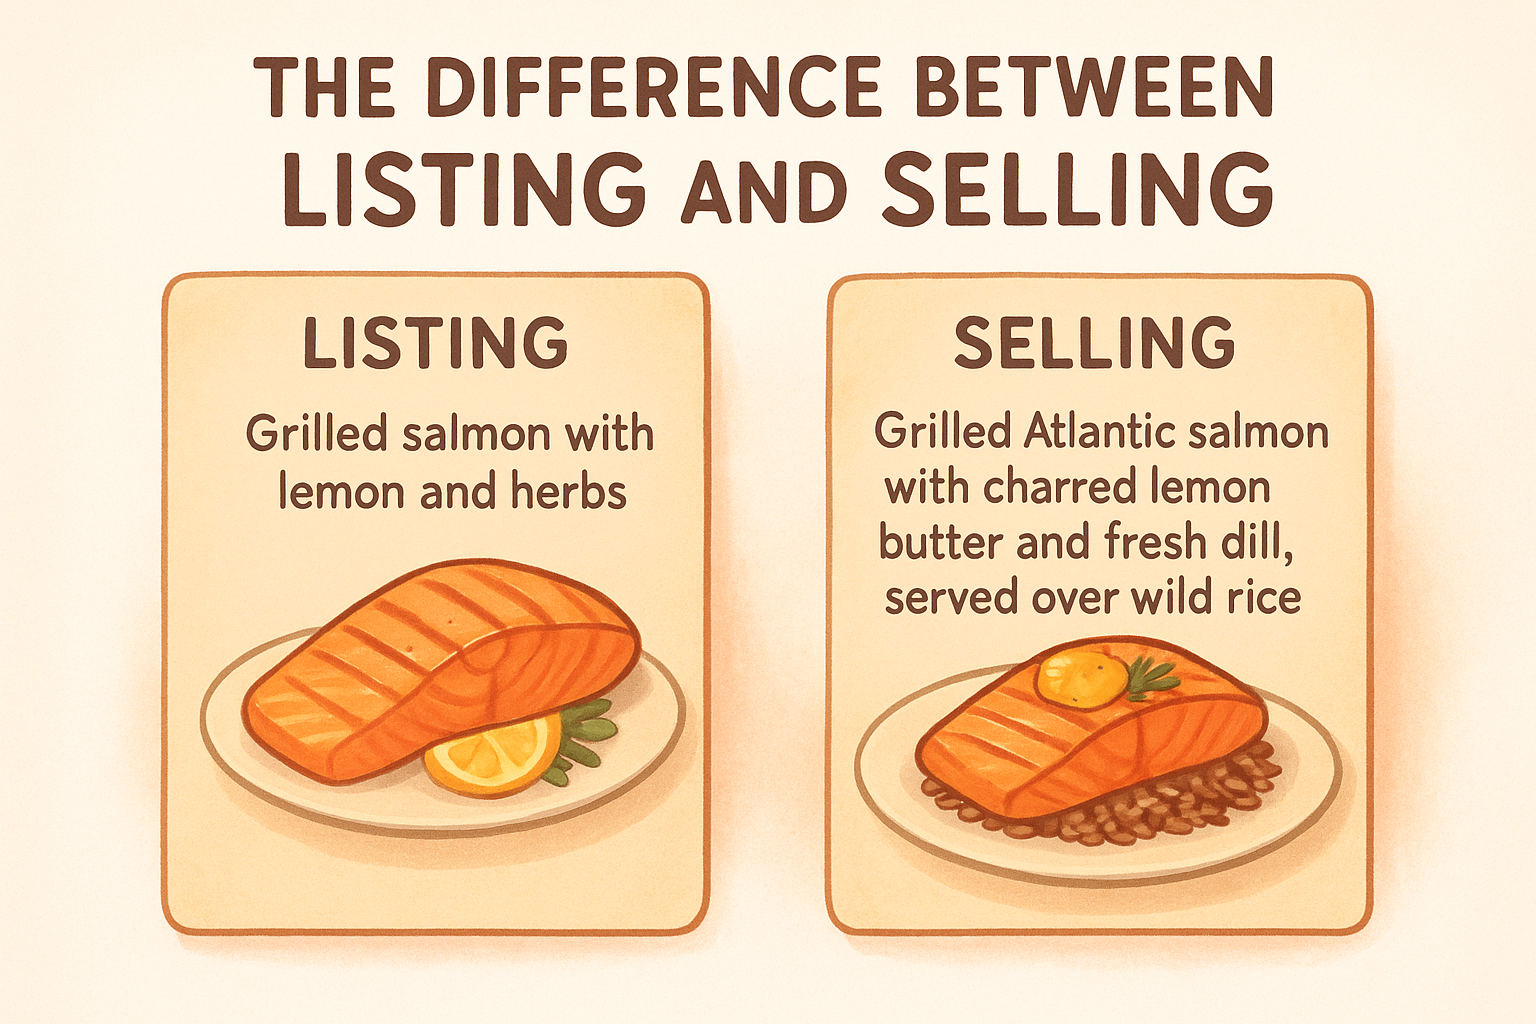
| Listing | Selling |
|---|---|
| Grilled salmon with lemon and herbs | Grilled Atlantic salmon with charred lemon butter and fresh dill, served over wild rice |
| Chocolate cake with frosting | Dense dark chocolate cake with a fudge center, topped with salted caramel buttercream |
The selling version earns its price point before the customer orders. It reduces hesitation, builds appetite, and makes the customer feel confident they're choosing something worth it. That's the standard every description on your menu should meet.
Step 1. Choose the details that matter
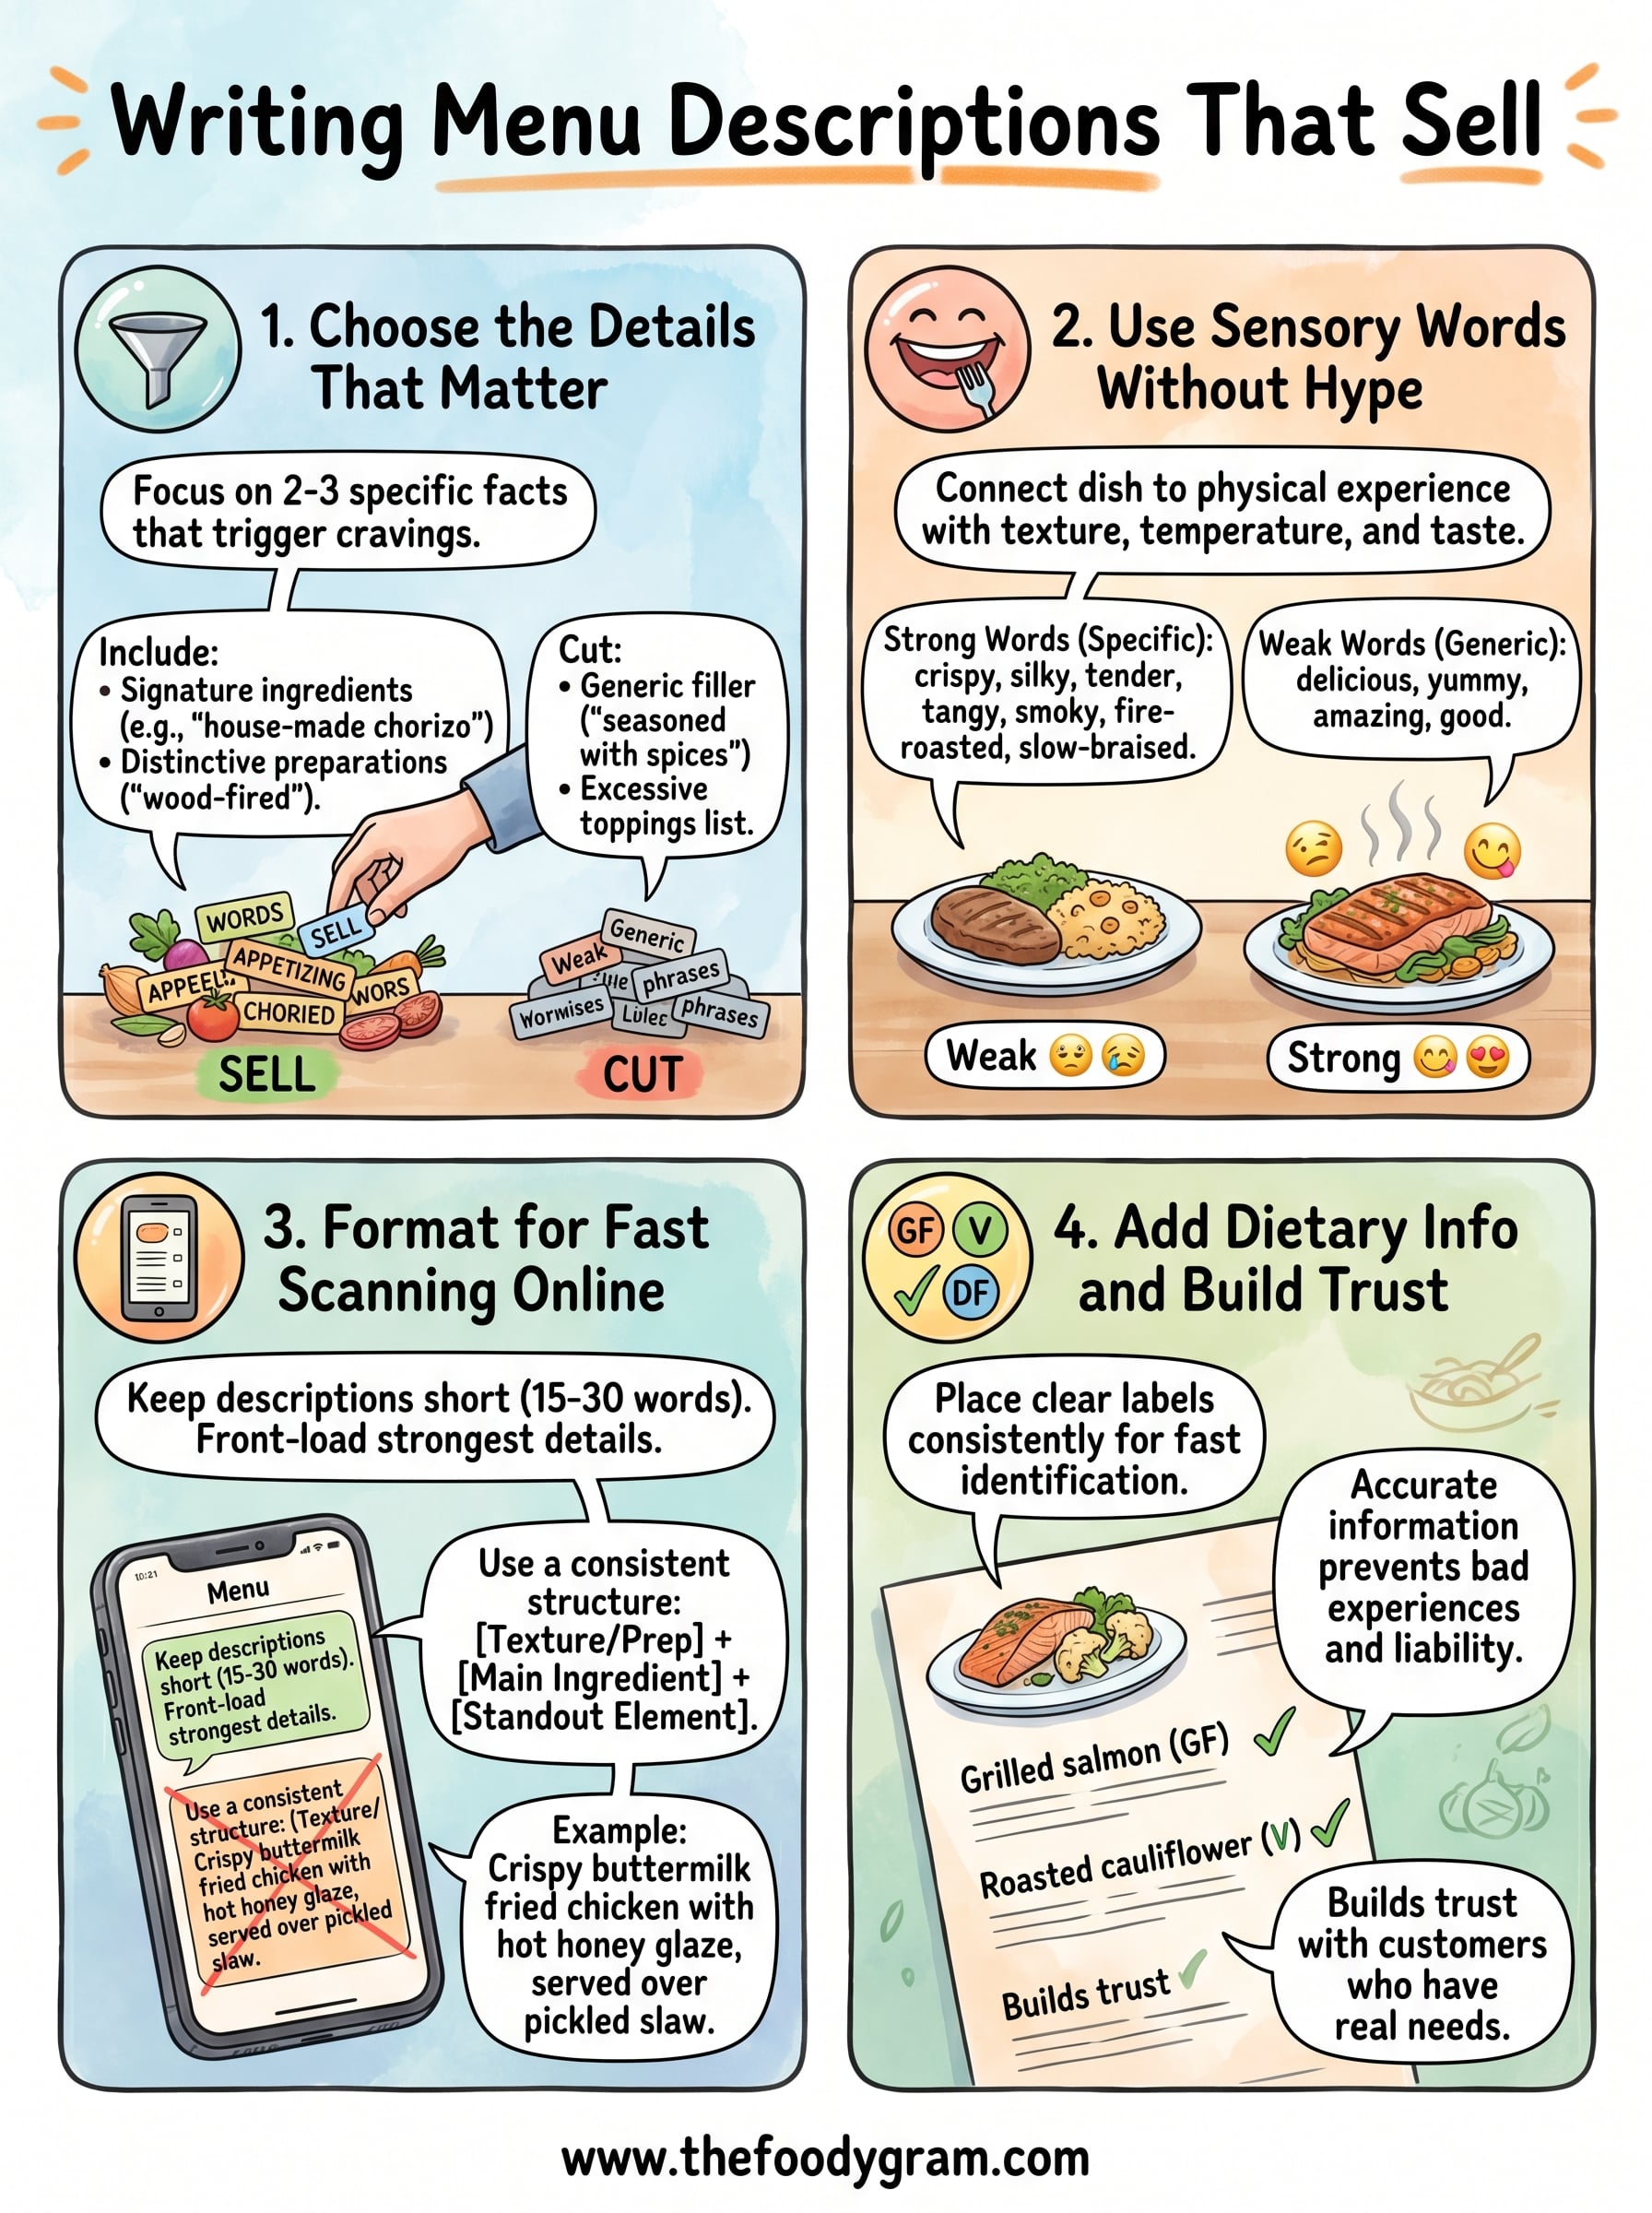
The biggest mistake restaurant owners make when learning how to write menu descriptions is trying to list every single ingredient. More details don't automatically create more desire. Your job is to pick the two or three specific facts that make someone hungry for that dish and cut everything else.
The details you choose should answer one question: does this make someone want to eat this right now?
Identify your dish's strongest selling points
Not every detail carries equal weight when building appetite. A fresh, local, or house-made ingredient earns more trust than a generic one. An unusual preparation method like wood-fired, slow-braised, or cold-smoked signals real effort and quality. Those are the details worth keeping.
Here's a quick filter to decide what stays and what gets cut from each description:
| Detail type | Include it? | Example |
|---|---|---|
| Signature or house-made ingredient | Yes | "house-made chorizo" |
| Distinctive preparation method | Yes | "wood-fired," "slow-braised" |
| Generic filler phrases | No | "seasoned with spices" |
| Every single topping listed | No | Just the standout one |
| Origin or sourcing | Yes if notable | "local farm eggs" |
Run each dish through this filter before you write a single word. If a detail doesn't add appetite or signal quality, cut it. Your descriptions will be tighter, faster to read, and more persuasive as a result. Most dishes only need one or two anchor details to do the job well.
Step 2. Use sensory words without hype
Sensory language works because it connects a dish to a physical experience before the customer even orders. The key is staying specific and honest. When you learn how to write menu descriptions with sensory detail, the goal is to give customers a clear mental picture, not to oversell with vague adjectives that mean nothing. Words like "amazing" and "delicious" carry no weight because every restaurant uses them.
Specific sensory words build appetite. Generic praise builds skepticism.
Choose words that describe texture, temperature, and taste
Your strongest sensory words describe how a dish feels and tastes rather than how good it is. Focus on texture (crispy, tender, creamy), temperature (chilled, warm, fire-roasted), and taste profile (tangy, smoky, sweet-spiced). These words trigger a real sensory response in the reader's mind. Pair one texture word with one taste word and you have a description that does real work.
Use this reference when picking sensory words for your menu:
| Category | Strong words | Weak words |
|---|---|---|
| Texture | crispy, silky, tender, flaky | soft, good, nice |
| Taste | tangy, smoky, savory, rich | delicious, tasty, yummy |
| Temperature | fire-roasted, chilled, warm | hot, cold |
| Preparation | slow-braised, hand-rolled, charred | cooked, made, prepared |
Swap any weak word from the right column with a specific one from the left, and your descriptions immediately feel more credible and more appetizing without sounding like marketing copy.
Step 3. Format for fast scanning online
Online menus get skimmed, not read. When someone opens your ordering page on a phone, they're making fast decisions while hungry, distracted, or in a rush. Knowing how to write menu descriptions for digital formats means adjusting not just what you say but how you lay it out. Short sentences, clean structure, and a consistent format make your descriptions easier to process and faster to act on.
The best online menu description delivers its strongest detail first and stops before the customer loses interest.
Keep descriptions short and front-loaded
Online menus perform best when descriptions stay between 15 and 30 words. Put the most appetite-triggering detail first, then support it with one or two specifics. Customers read the first few words and decide whether to keep reading, so front-loading your strongest sensory detail gives you the best chance of holding their attention.
Use this template for each dish on your online menu:
[Texture or preparation] + [main ingredient] + [standout element], served with [supporting detail].
Example: Crispy buttermilk fried chicken with hot honey glaze, served over pickled slaw.
Use consistent structure across every item
Inconsistent formatting makes your menu feel rushed and unpolished, which erodes trust before customers even place an order. Pick one template and apply it to every dish within a category. Consistent length and structure signal that your restaurant pays attention to detail, and that impression carries directly into how customers perceive your food quality before they take a single bite.
Step 4. Add dietary info and build trust
Dietary information is part of knowing how to write menu descriptions that actually convert in today's market. More customers than ever are scanning menus for gluten-free, vegan, nut-free, or dairy-free options before they place an order. If that information isn't visible and accurate, you lose the order entirely, and you risk a bad experience for customers with real dietary needs.
Missing or buried dietary info costs you orders from customers who would have ordered if they simply knew it was safe.
Place dietary labels where customers expect them
Your customers look for dietary labels in a predictable spot: right next to the dish name or at the end of the description. Pick one placement and apply it consistently across every item. Using short, recognizable abbreviations or icons keeps your menu clean while still communicating the right information fast.
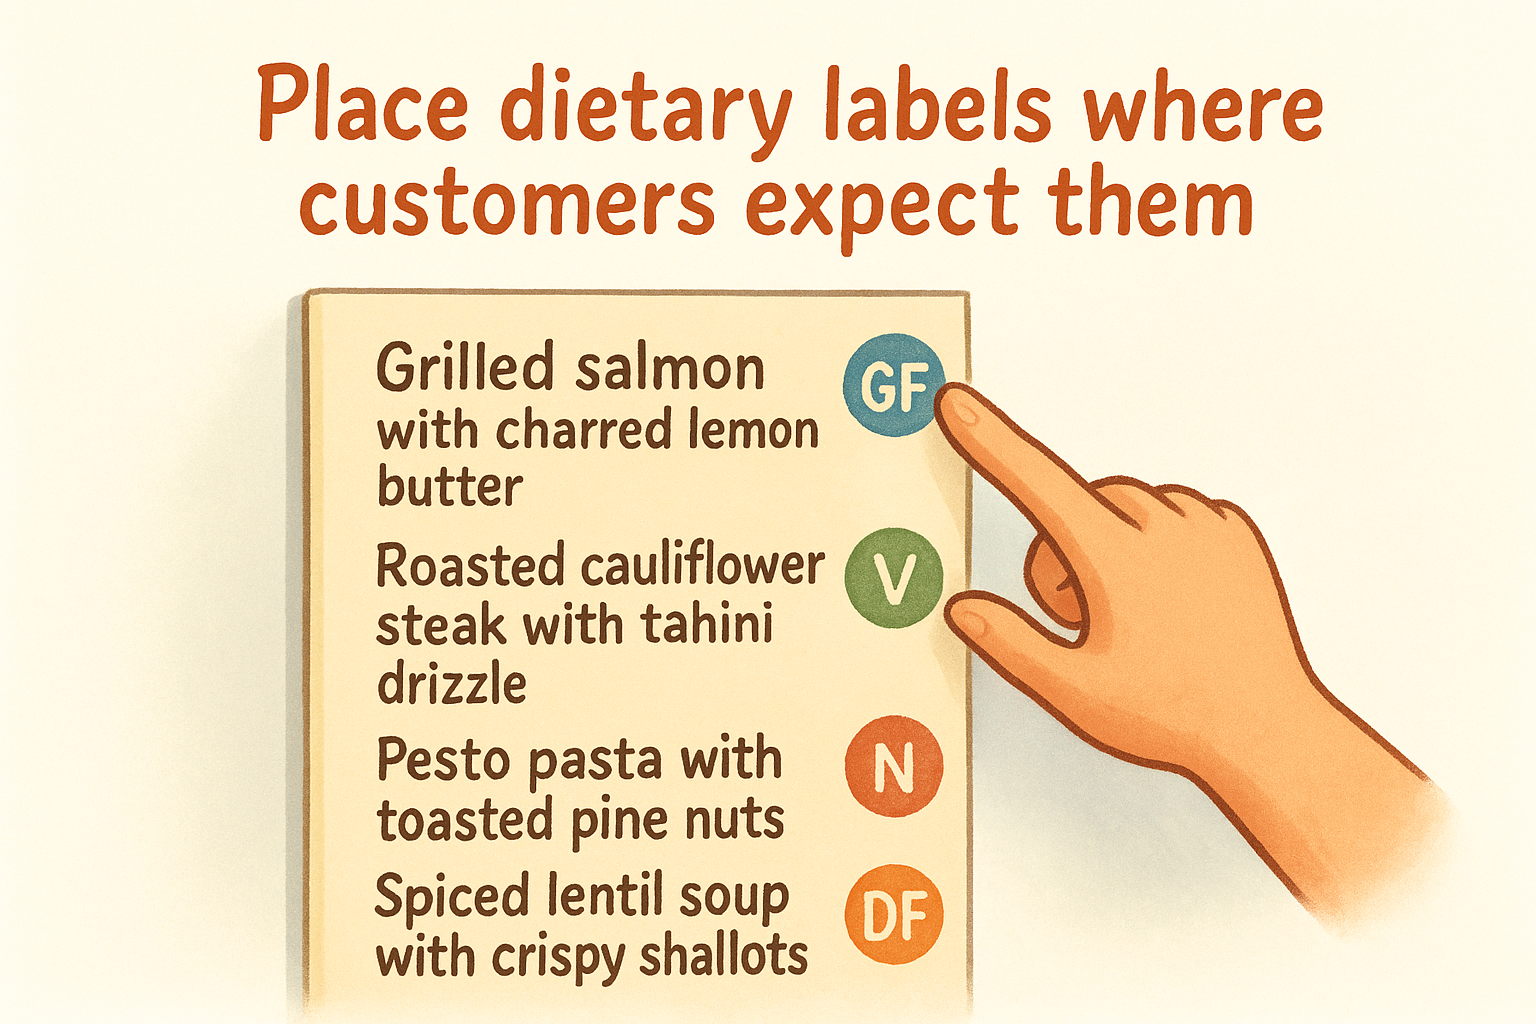
Here is a simple format you can apply directly to your online menu items:
| Label | Abbreviation | Example in description |
|---|---|---|
| Gluten-free | GF | Grilled salmon with charred lemon butter (GF) |
| Vegan | V | Roasted cauliflower steak with tahini drizzle (V) |
| Contains nuts | N | Pesto pasta with toasted pine nuts (N) |
| Dairy-free | DF | Spiced lentil soup with crispy shallots (DF) |
Keep allergy info accurate and easy to find
Accuracy here is non-negotiable. A wrong label on an allergen item can put a customer's health at risk and expose your restaurant to serious liability. Review every description with your kitchen staff before publishing, and update labels immediately whenever a recipe or ingredient changes. Trust is built one correct detail at a time.
Next steps to update your menu today
You now have a complete system for how to write menu descriptions that move customers from browsing to buying. Start with one menu category today, run each dish through the detail filter from Step 1, swap weak words for specific sensory ones, and confirm your dietary labels are accurate and visible. Small edits to a handful of descriptions can produce a measurable lift in average order value faster than almost any other change you can make.
Once your descriptions are sharp, the platform displaying them matters just as much. If your menu is buried on a third-party app, your words are competing against hundreds of other restaurants. Your own branded ordering page puts your descriptions front and center, with no commission eating into every sale. If you're ready to move your online ordering in-house, check out The Foody Gram's plans and pricing to find the right fit for your restaurant.